Data Connections
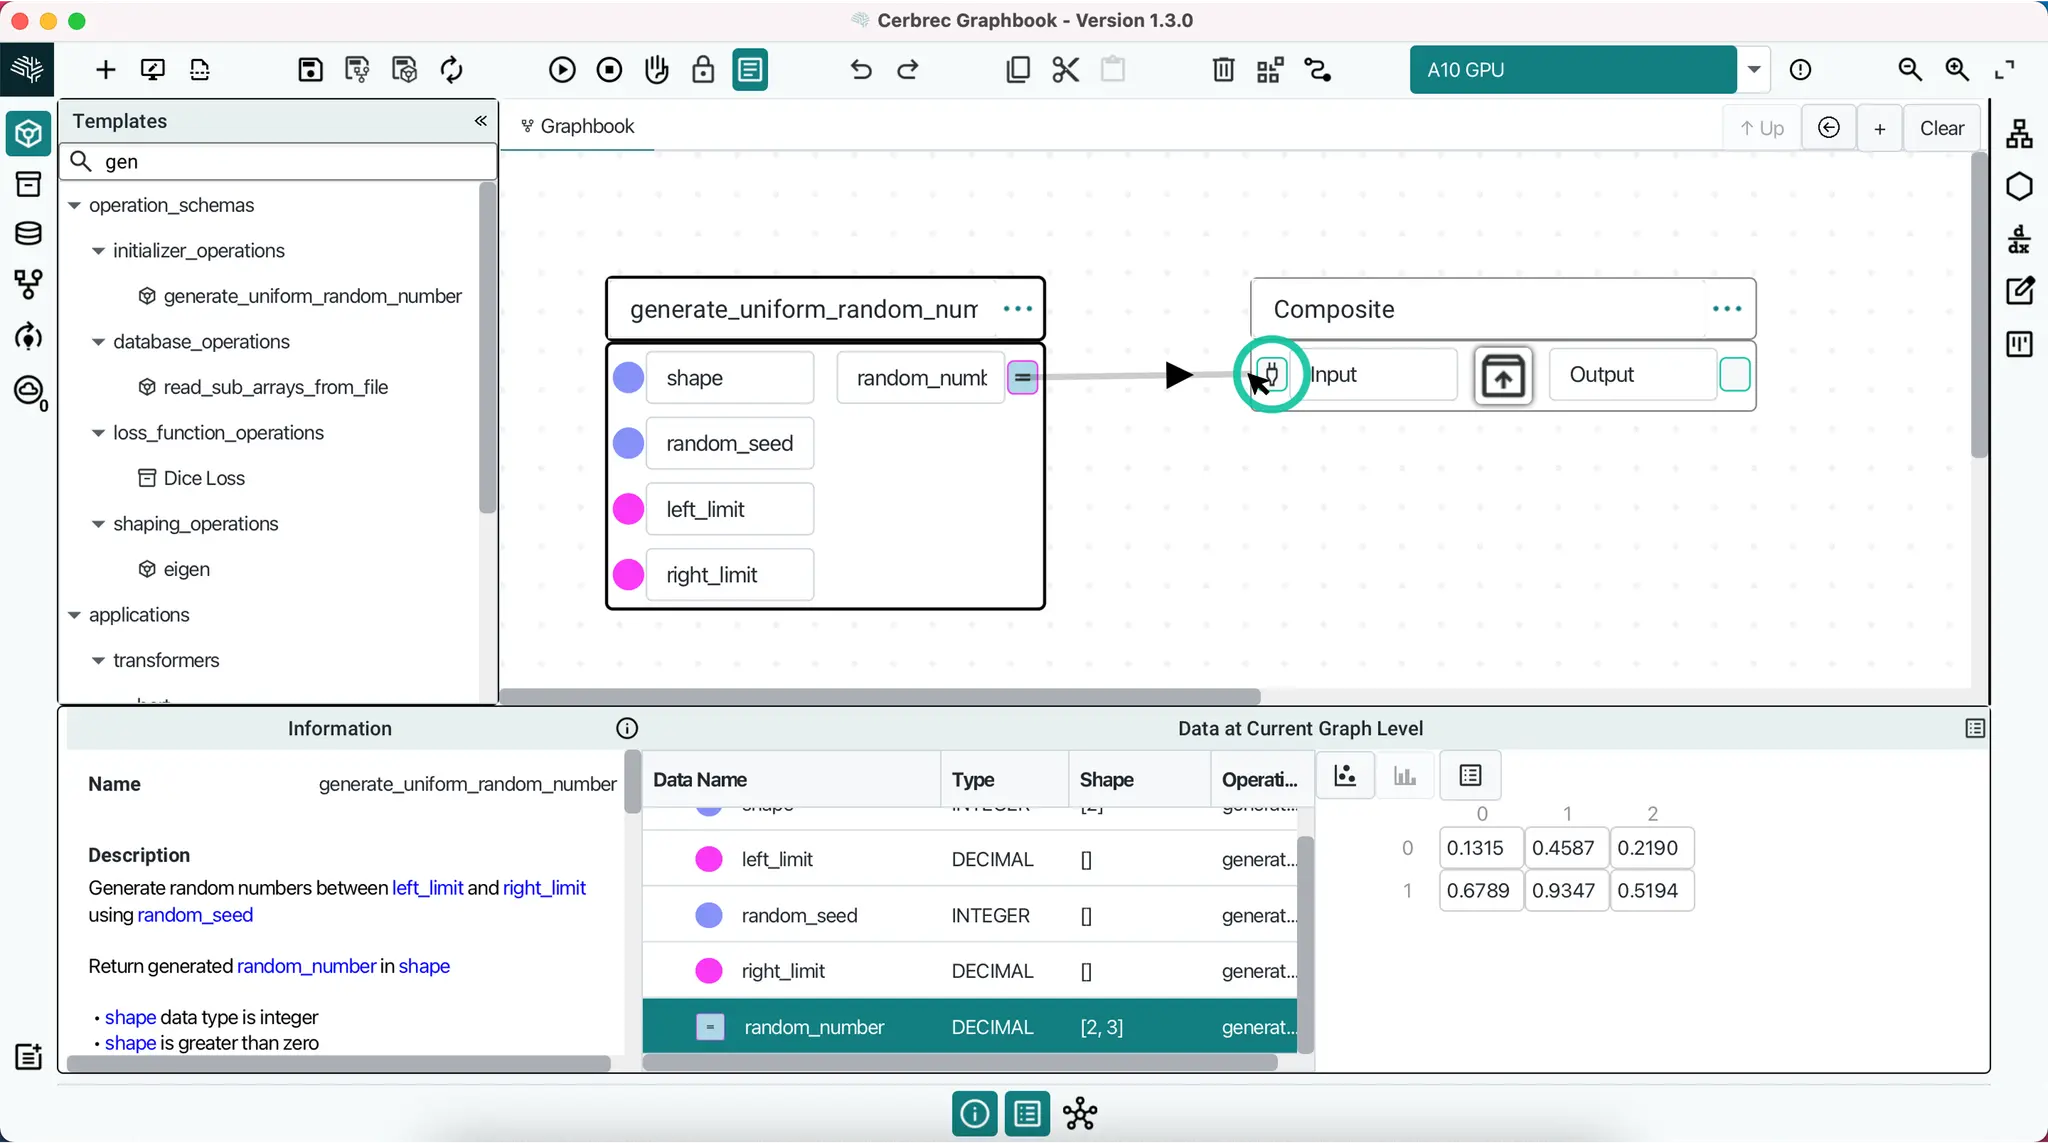
In Graphbook, we enable the passing of data between inputs and outputs using links, representing the data flow as a directed acyclic graph (DAG). Links not only illustrate the flow of data between variables, but also use the same data representation system to indicate the shape and type of data, providing a clear and intuitive understanding of your workflow.
Creating Links
To link data from an output variable to an input variable, follow these steps:
- Select the output variable's
slot. - Initiate link staging mode by clicking your mouse or pressing the
Spacebar. - The arrow will begin to follow your mouse. To create the link, select the desired input
slotand click your mouse or press theSpacebaragain. - If you change your mind, you can cancel the link creation by clicking your mouse or pressing the
Spacebarwithout selecting an inputslot, or by clicking an empty area.
2. Input variables can also receive static data in place. In that case, the data occupies the variable directly, and its host operation doesn't need a link to that variable to execute.
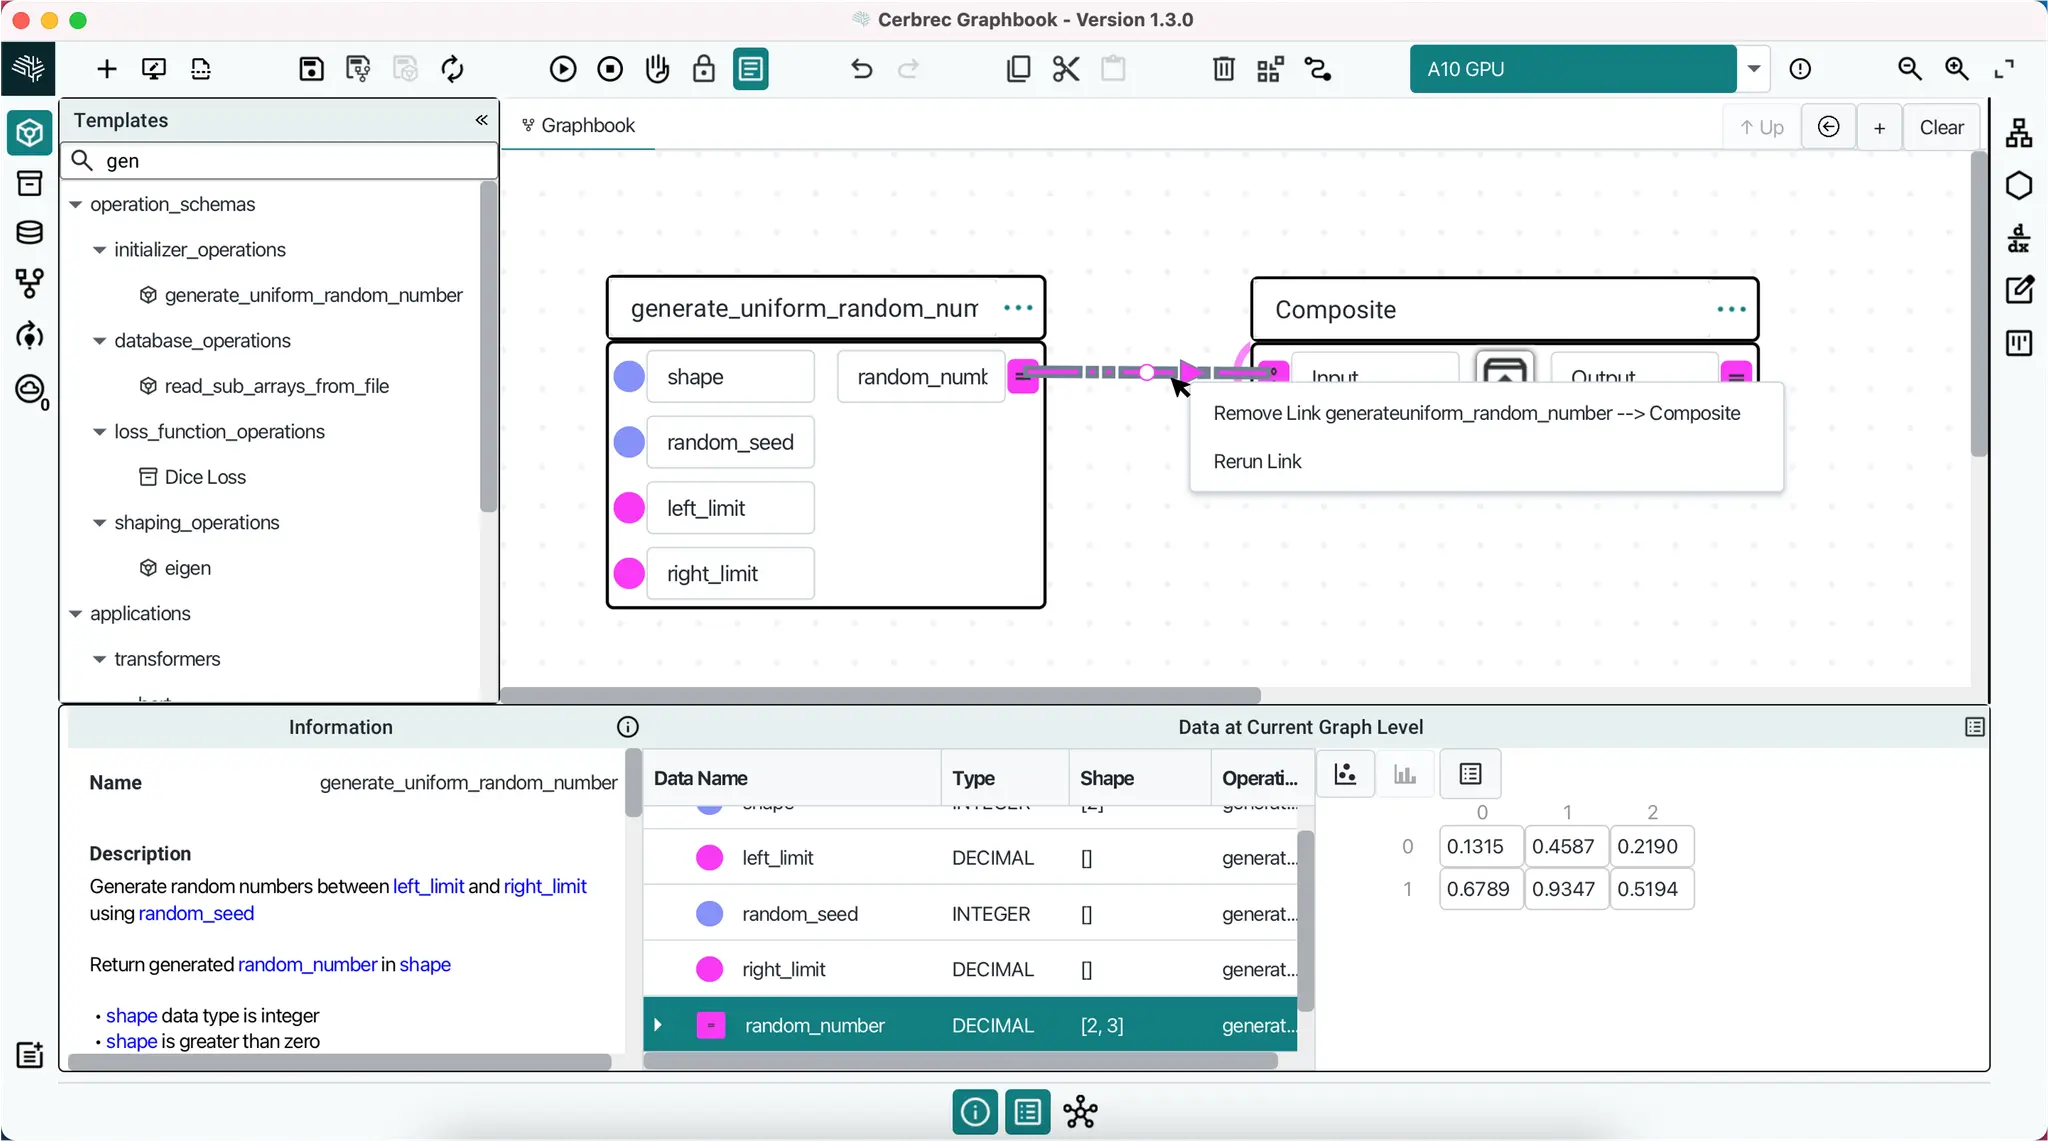
Removing Links
There are a few ways to remove a link without removing the operations:
- Right-click on either
slotand select the Remove Link option. - Right-click the link itself and select
Remove Link. - Hold
Shiftwhile either variable is circled and pressd.
Link Patterns
Link patterns provide visual hints about the shape and type of data that can flow through a link. These patterns are designed to give you a quick understanding of the data characteristics. View the full link patterns here.
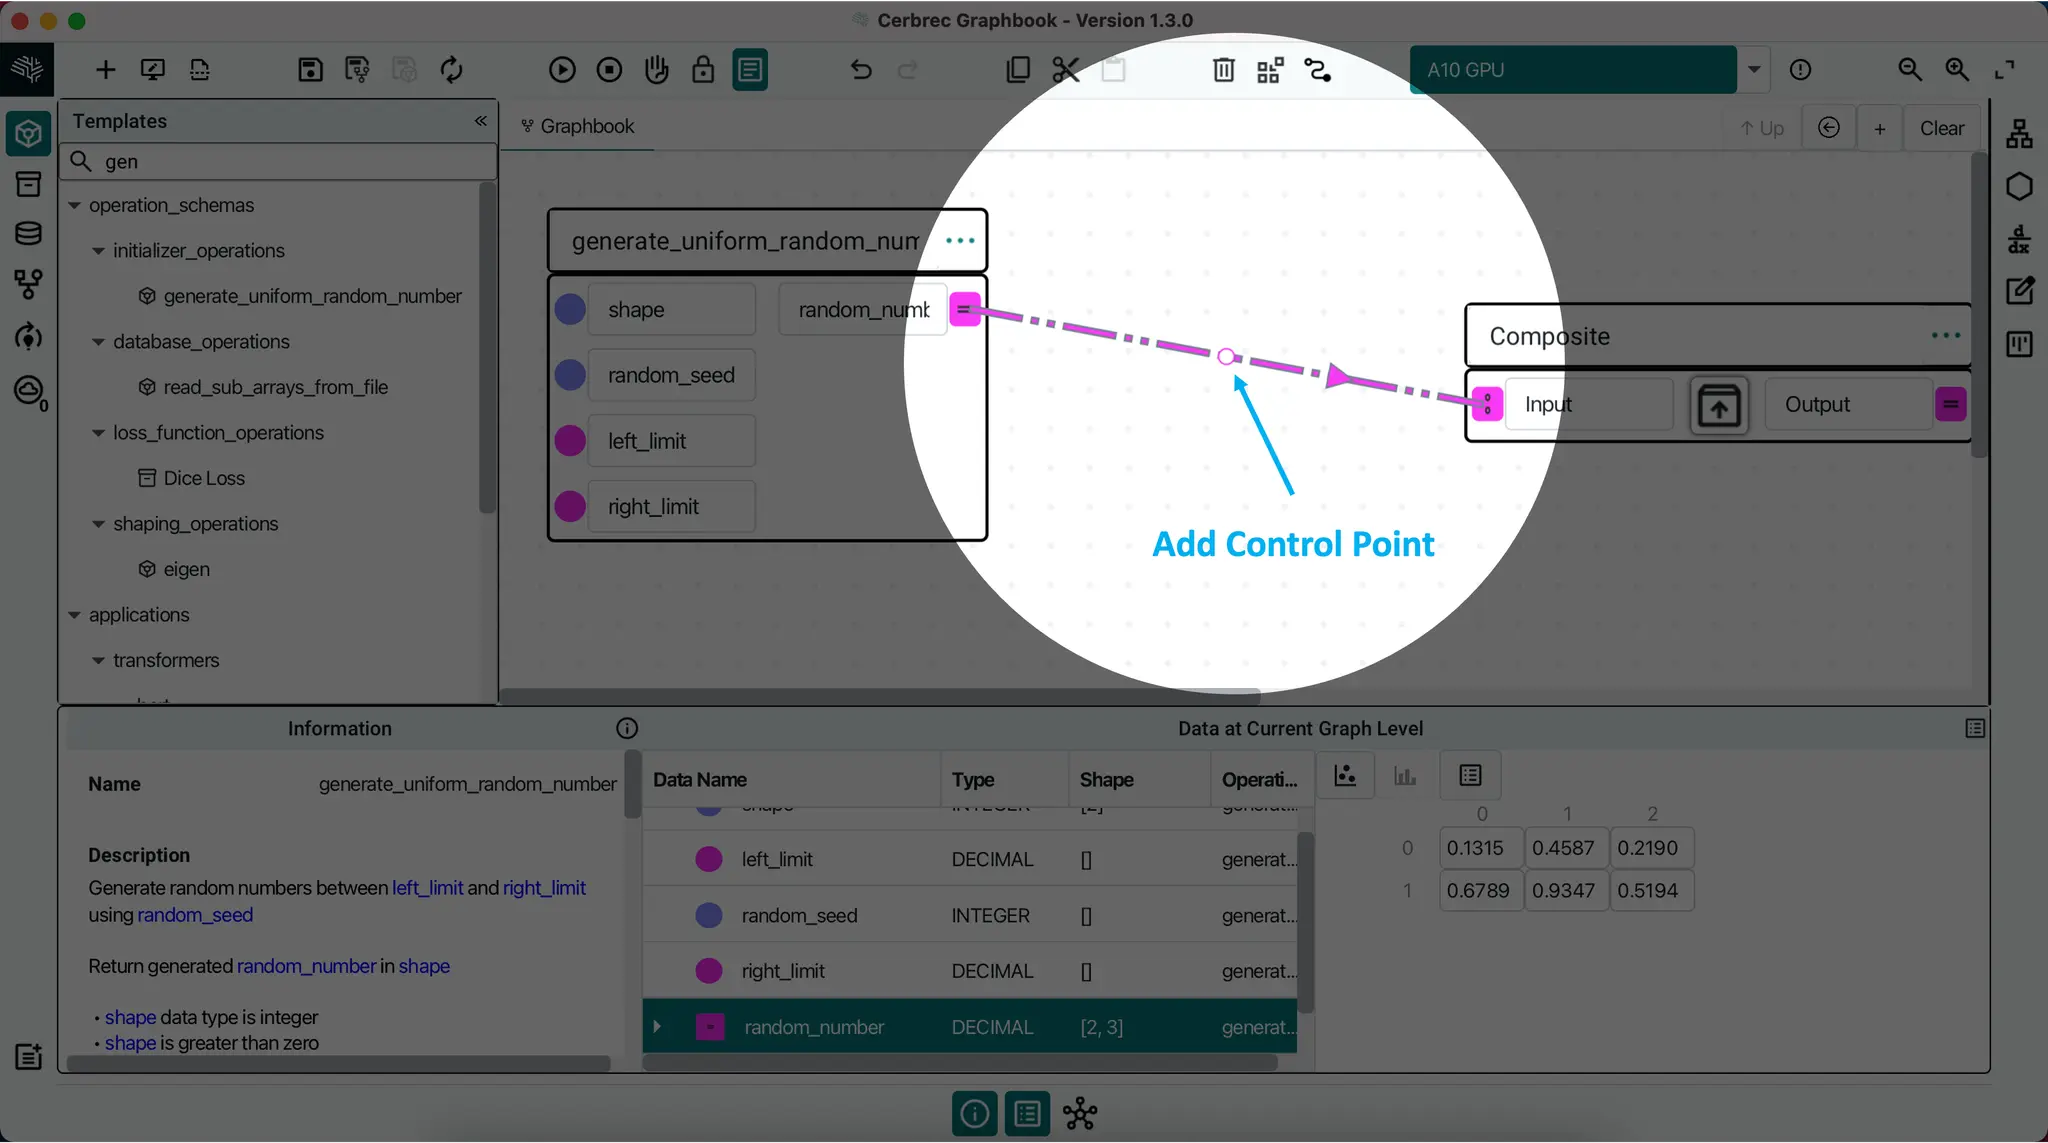
Control Points
After creating a link, you can add control points to split it into multiple line segments and direct its path.
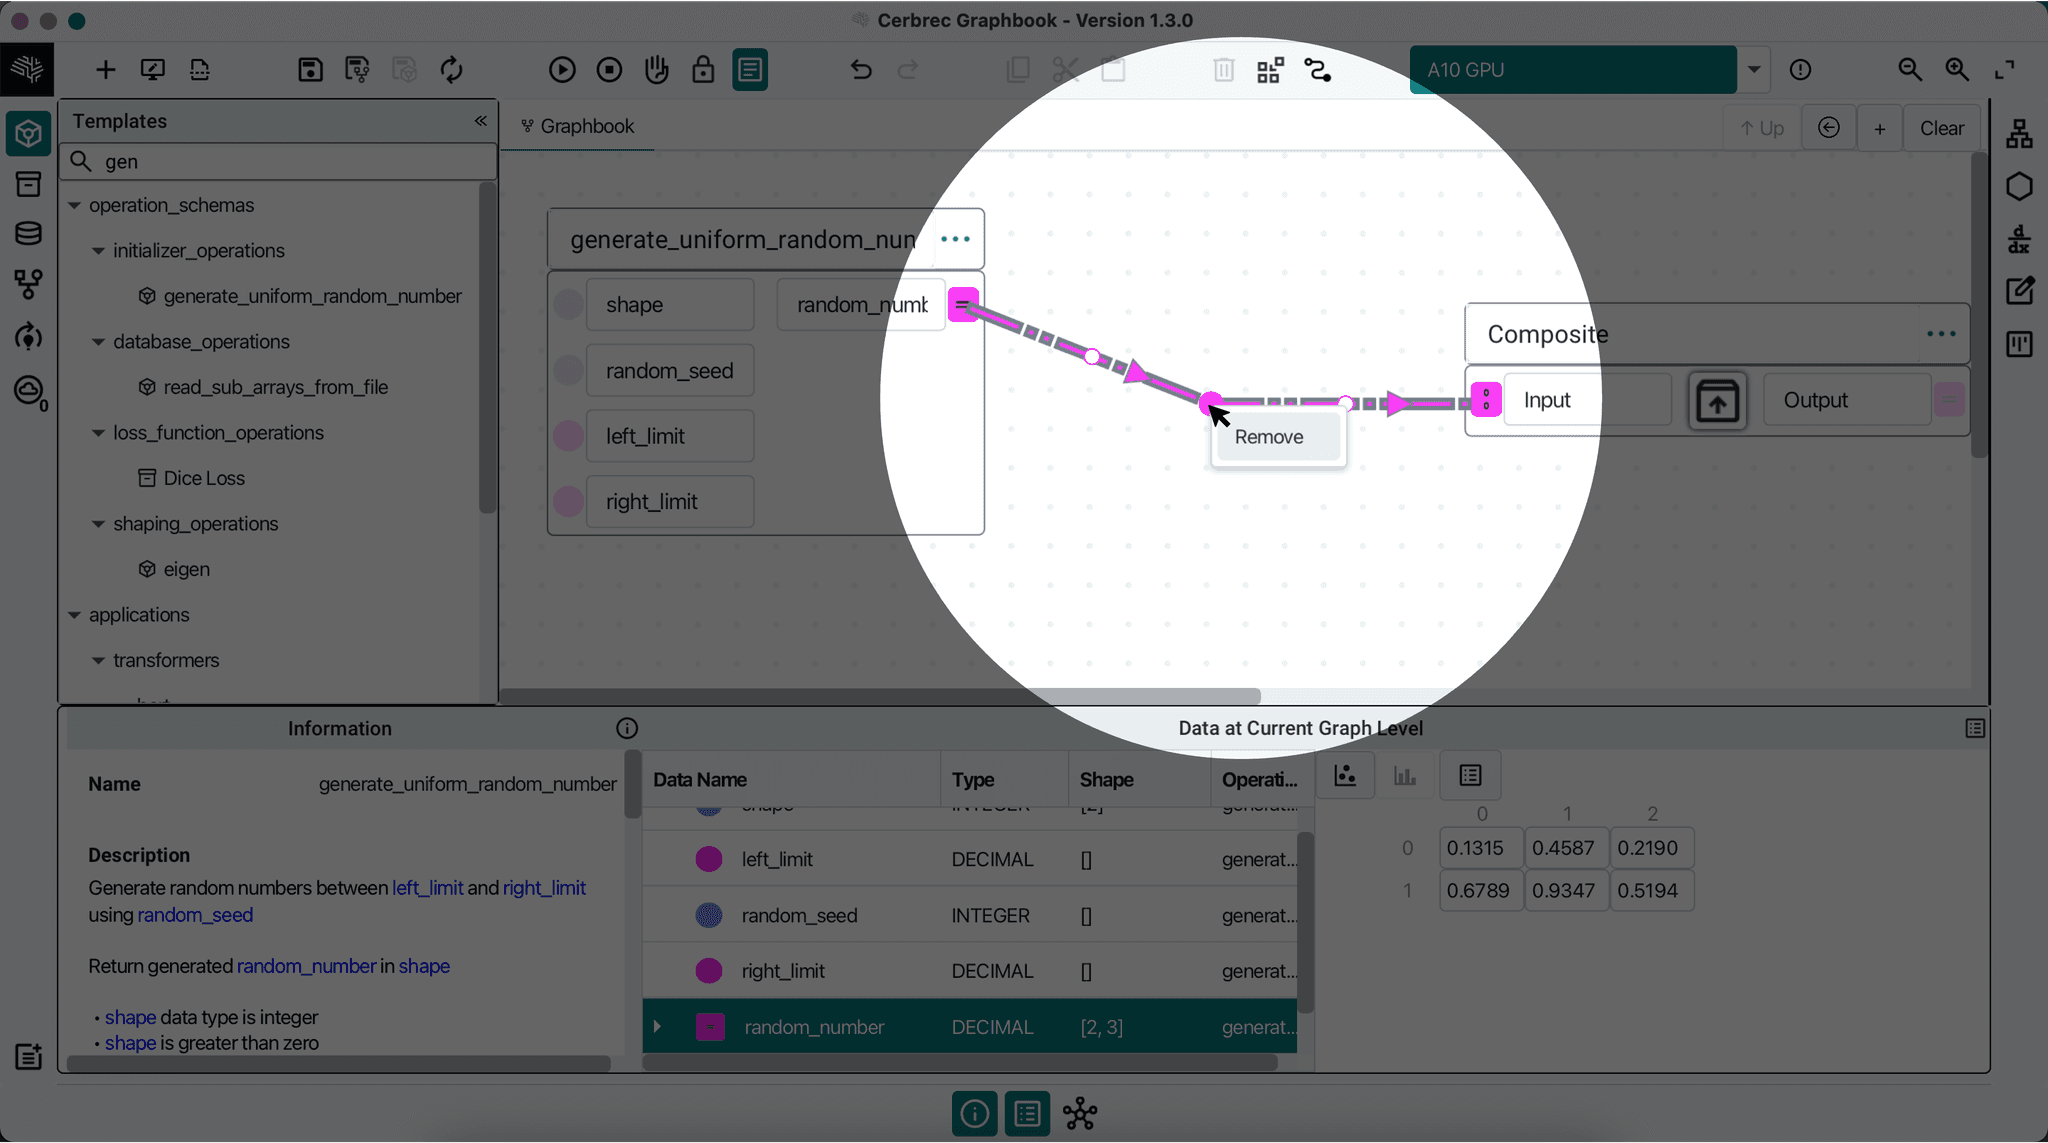
Adding and Managing Control Points
To add a control point, click on the white circle that appears along the link. You can then move the control point to adjust the angle of the link. To remove a control point, right-click on it and select Remove. Note that control points are purely cosmetic, so you can add as many as you want without affecting the data flow.
Aligning Link Angles
For a more organized workflow, you can use the Align Link Angles feature in the Edit Bar to automatically adjust control points and operations to align angles that are close to 90° or 180°. This feature helps to tidy up messy angles and create a more streamlined visual representation.
Sticky Angles
Link angles are designed to be sticky, meaning they tend to converge at 90° or 180° and resist being moved away from these clean angles. This feature helps to maintain a neat and organized workflow.